
Creamy Pumpkin Pie Bars with Buttery Shortbread Crust
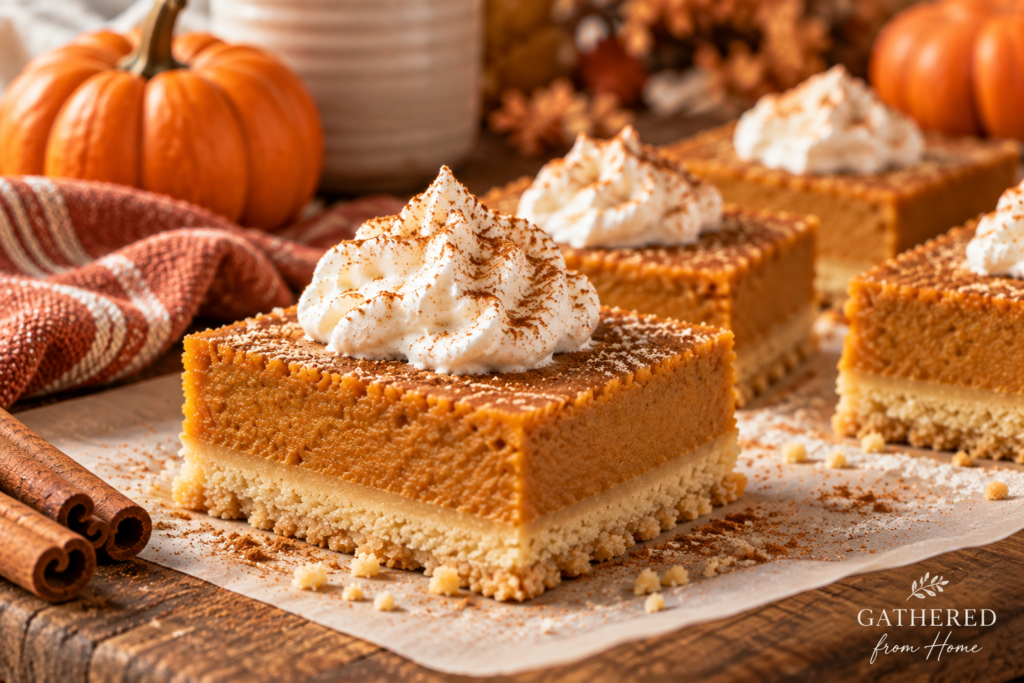
These creamy pumpkin pie bars feature a buttery shortbread crust topped with a smooth, warmly spiced pumpkin filling. All the flavors of homemade pumpkin pie in an easy-to-serve dessert bar.
Ingredients
Buttery Shortbread Crust
Creamy Pumpkin Filling
Optional Topping
Instructions
-
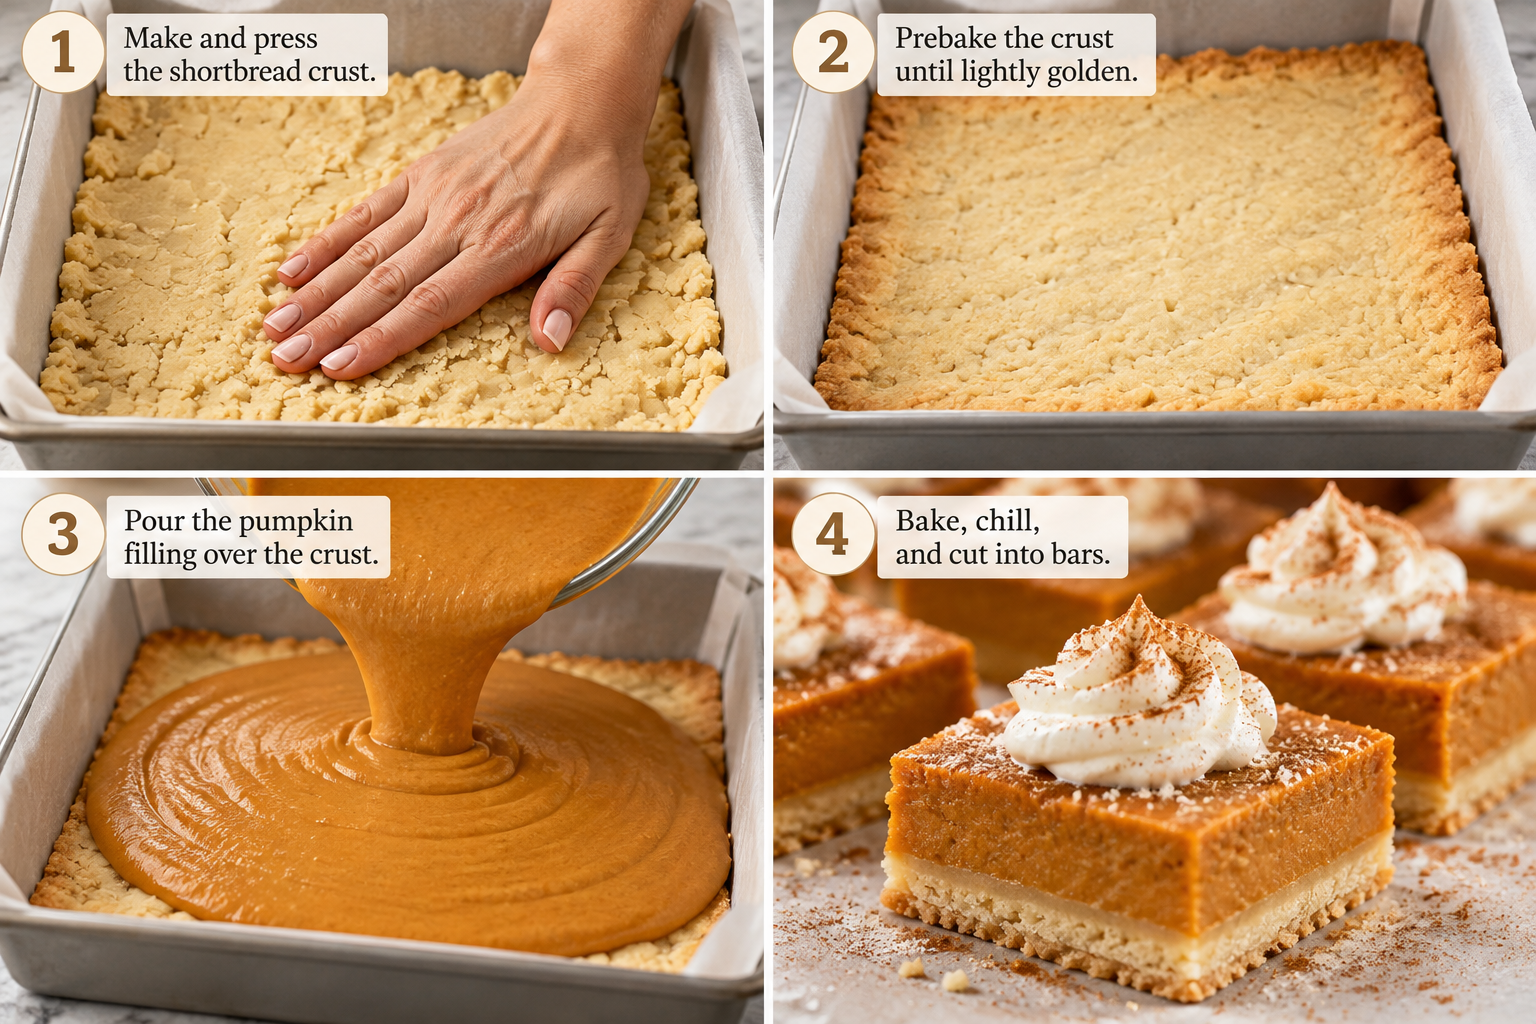
See How Pumpkin Pie Bars Come Together
Make the Shortbread → Prebake the Crust → Add Pumpkin Filling → Bake and Chill
-
Prepare the Oven and Pan
Preheat the oven to 350°F.
Line a 9x13-inch baking pan with parchment paper, leaving some overhang along the sides for easy removal.
Lightly grease any exposed areas of the pan.
-
Make the Shortbread Crust
In a large mixing bowl, beat the softened salted butter and granulated sugar until creamy.
Add the vanilla extract and mix until combined.
Gradually add the flour, mixing until a soft, crumbly dough forms.
The dough may look slightly crumbly, but it should hold together when pressed.
-
Press the Crust Into the Pan
Transfer the shortbread mixture to the prepared baking pan.
Using your hands or the bottom of a measuring cup, press the dough firmly and evenly across the bottom of the pan.
Try to keep the thickness consistent so the crust bakes evenly.
-
Prebake the Shortbread Crust
Bake the crust at 350°F for 15–18 minutes, until it looks set and the edges are just beginning to turn lightly golden.
Remove from the oven and set aside while preparing the pumpkin filling.
Leave the oven on.
-
Prepare the Pumpkin Filling
In a large mixing bowl, whisk together the pumpkin puree, brown sugar, eggs, vanilla extract, cinnamon, ginger, nutmeg, cloves, and salt.
Gradually add the evaporated milk, whisking until the filling is smooth and evenly combined.
The mixture will be fairly thin, similar to traditional pumpkin pie filling.
-
Add the Pumpkin Filling
Carefully pour the pumpkin filling over the warm shortbread crust.
Use a spatula to spread it evenly if needed.
Gently tap the pan against the countertop once or twice to release any large air bubbles.
-
Bake the Pumpkin Pie Bars
Return the pan to the oven.
Bake at 350°F for approximately 40–50 minutes, until the edges are set and the center has a slight jiggle when the pan is gently moved.
The center should not look liquid.
Avoid overbaking, which can cause the pumpkin filling to crack or become dry.
-
Cool and Refrigerate
Remove the pan from the oven and allow the bars to cool completely at room temperature.
Once cooled, cover and refrigerate for at least 3 hours, preferably overnight.
Chilling helps the pumpkin filling firm up and makes the bars easier to slice.
-
Slice and Serve
Use the parchment paper overhang to carefully lift the chilled bars from the pan.
Transfer to a cutting board and cut into 12 squares.
For cleaner slices, wipe the knife between cuts.
Serve chilled with a dollop of whipped cream and a light sprinkle of cinnamon, if desired.
Note
Serving Suggestions
Serve these pumpkin pie bars chilled with whipped cream and a sprinkle of cinnamon.
They're perfect for Thanksgiving, fall gatherings, or an easy make-ahead dessert.
Make Ahead
These bars are a great make-ahead dessert.
Prepare them the day before serving and refrigerate overnight. The filling will have plenty of time to set, making the bars easier to cut.
Storage
Store leftover pumpkin pie bars in an airtight container in the refrigerator for up to 4 days.
Freezing
Once completely chilled, cut the bars into individual portions.
Wrap tightly and freeze for up to 2 months.
Thaw overnight in the refrigerator before serving.
Make It Gluten-Free
Replace the all-purpose flour in the shortbread crust with a good-quality 1:1 gluten-free baking flour containing xanthan gum.
This substitution hasn't been tested yet, so the crust texture may differ.
Pumpkin Puree
Use 100% pure pumpkin puree, not canned pumpkin pie filling.
Pumpkin pie filling already contains added sugar and spices, which would change the flavor and sweetness of this recipe.
More Fall Desserts
If you enjoy these pumpkin pie bars, try my Cinnamon Apple Morning Bake for another cozy fall favorite, or explore all my Dessert Recipes for more homemade treats.
